

Christmas is just around the corner and we are here for it! So many of us have already started decorating for the holiday season. One of our favorite things to do each year is to see how we can bring a touch of Disney into our holiday decorations.
©Disney
Today, we are sharing with you TWO Disney Christmas DIY projects from Disney! These DIYs are the PERFECT way to add some Disney magic to your holiday decor!
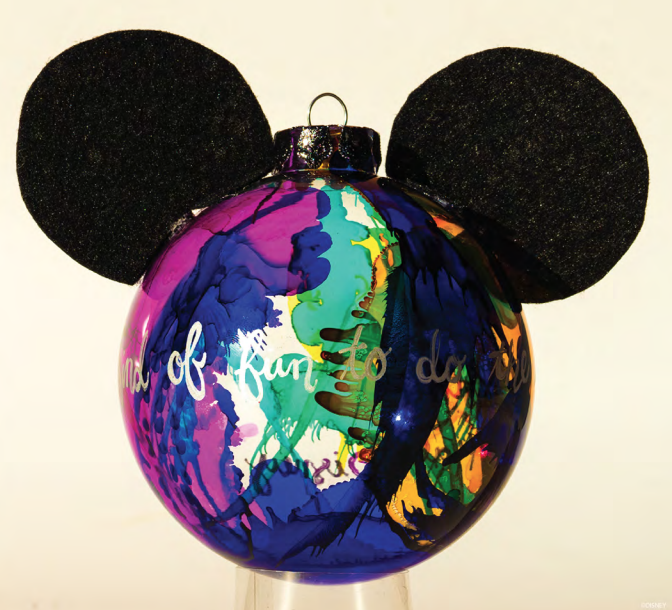
DIY Marble Glass Ornament
The first DIY is the perfect way to bring some Disney to your tree!
©Disney
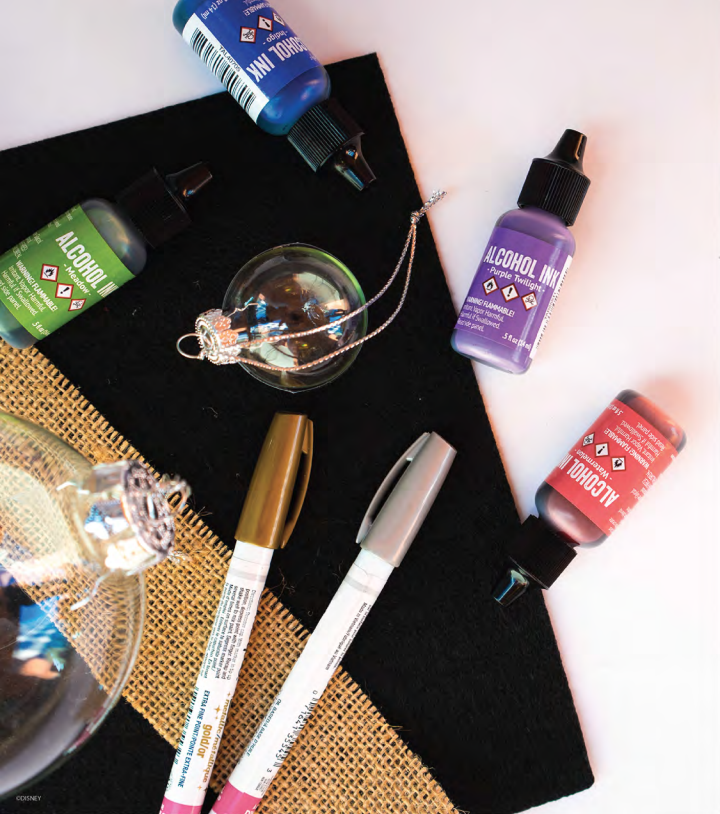
Supplies
- Clear glass ornaments
- Alcohol Inks in turquoise, magenta, purple, indigo blue, and red
- Canned air
- Gold and silver oil-based paint pens
- stiff black felt
- Gold 1/4″ ribbon
- Gold holographic glitter
- Burlap material
©Disney
Instructions
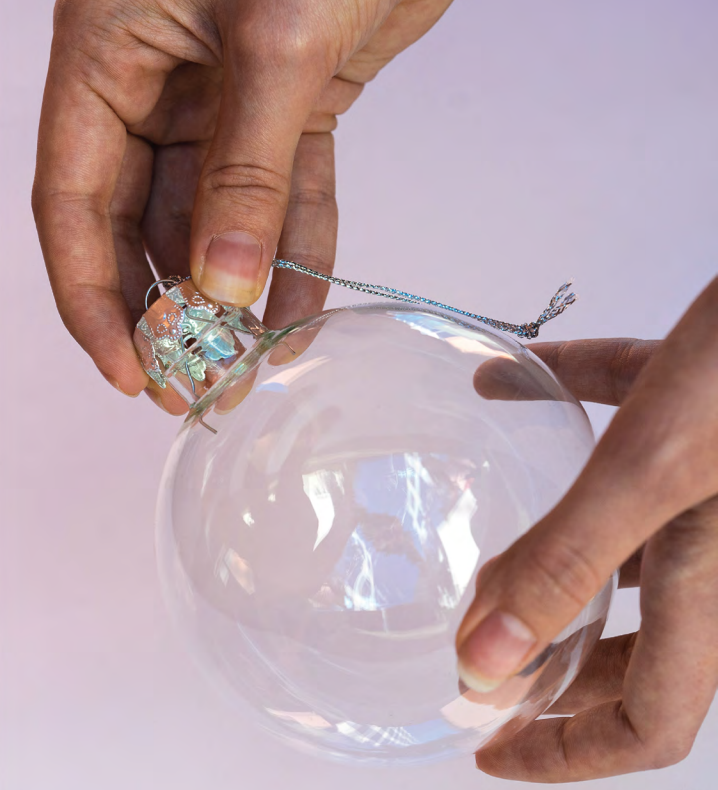
1. Gently remove the metal cap and clip from the top of the ornament. Set it aside, but remember where you put it because you will need it later.
©Disney
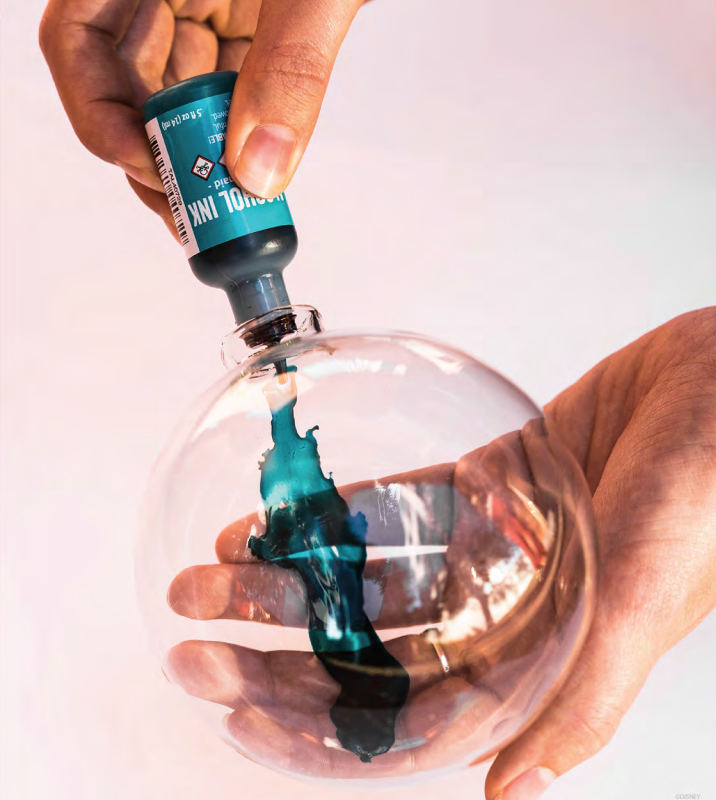
2. Turn the ornament on its side. Add 3-5 drops of the lightest ink color into the opening of the ornament. Allow the drops to “pool” inside the ornament for a good two minutes.
©Disney
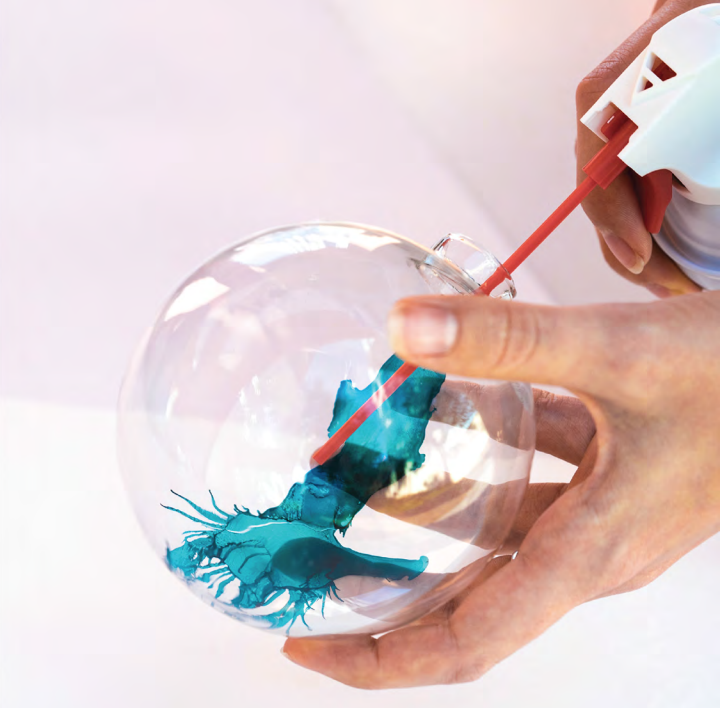
3. Let the ink dry for a few minutes. The canned air should come with a small straw which you can attach. Place the nozzle inside and aim at your first ink color. Press the air trigger lightly. Use short, small bursts of air to move the ink around.
©Disney
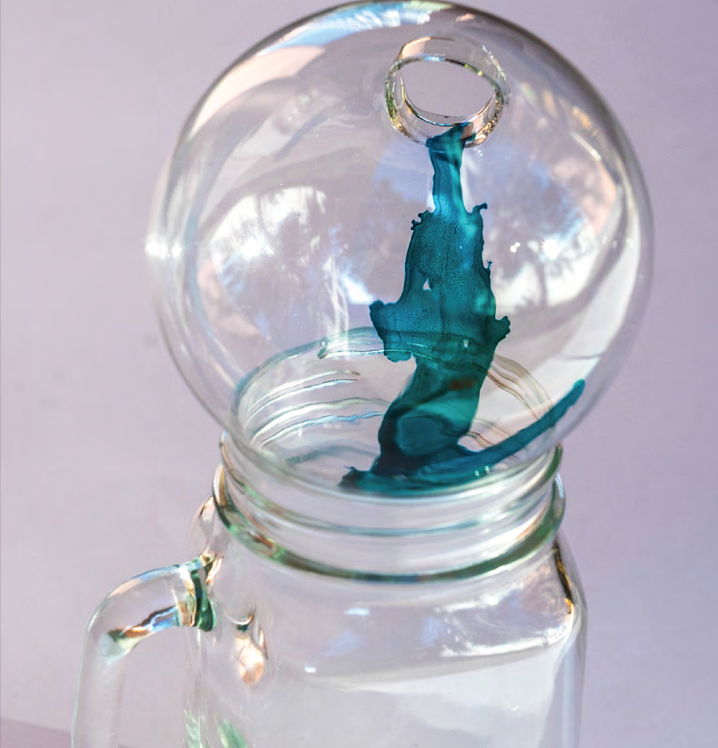
4. Let the ink dry for a few minutes. If you add another color of ink before the first color is dry, the new ink will move the ink you already placed.
©Disney
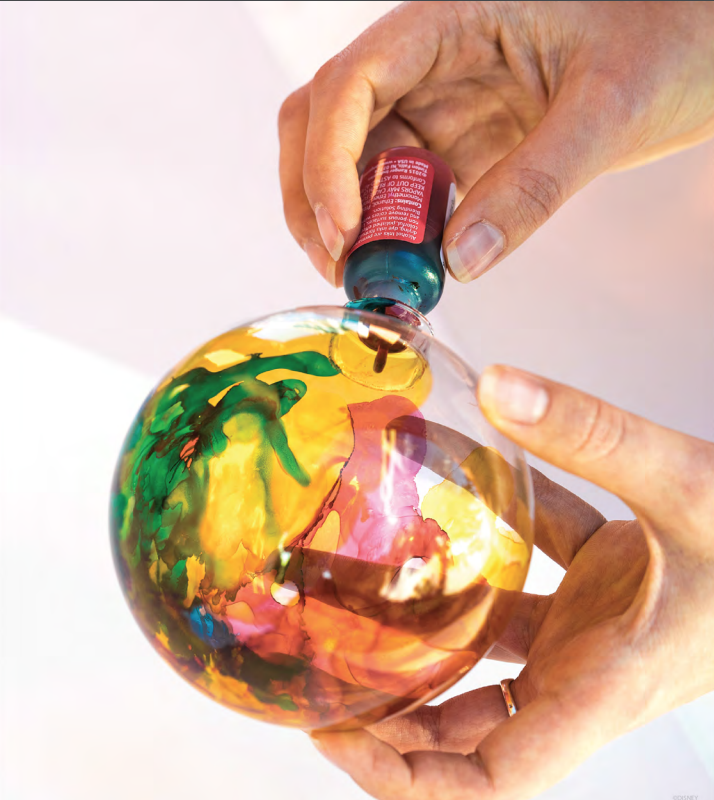
5. Repeat steps 2-4, adding new and different colors of ink to the ornament until you have your desired, marbled effect.
©DisneyParksBlog
6. After the ink inside is dry, replace the metal cap and clip. Now it’s time to decorate the outside of the ornament! Use the paint pens to draw and write on the ornaments. You can practice your designs on a piece of paper first. If you do make a mistake on your ornament with the paint pens, you can use alcohol to rub it off while it is still wet.
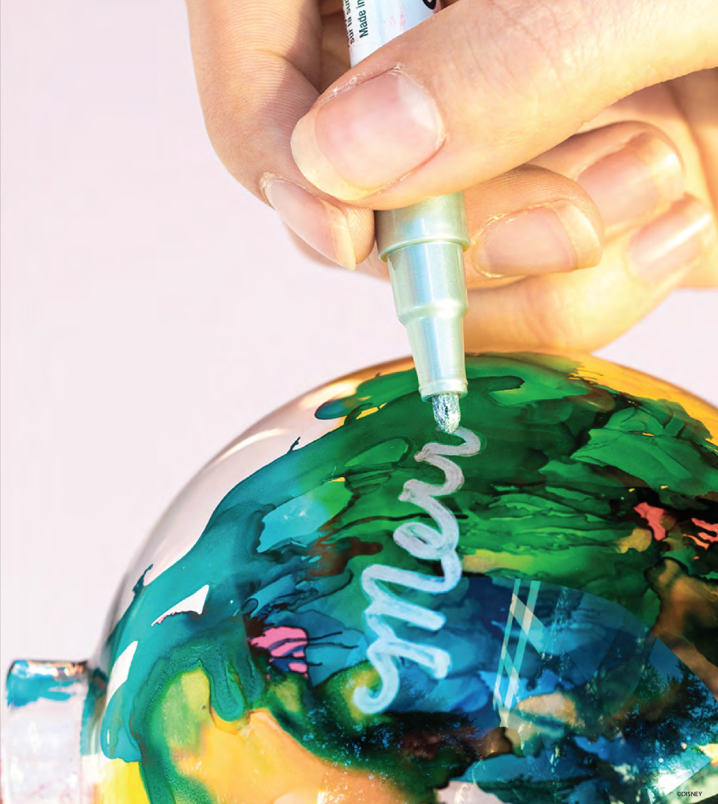
©DisneyParksBlog
7. Use the stiff felt to make Mickey ears! You can attach the ears to the ornament with hot glue. Disney has made a template for three different sized Mickey ears that you can find here.
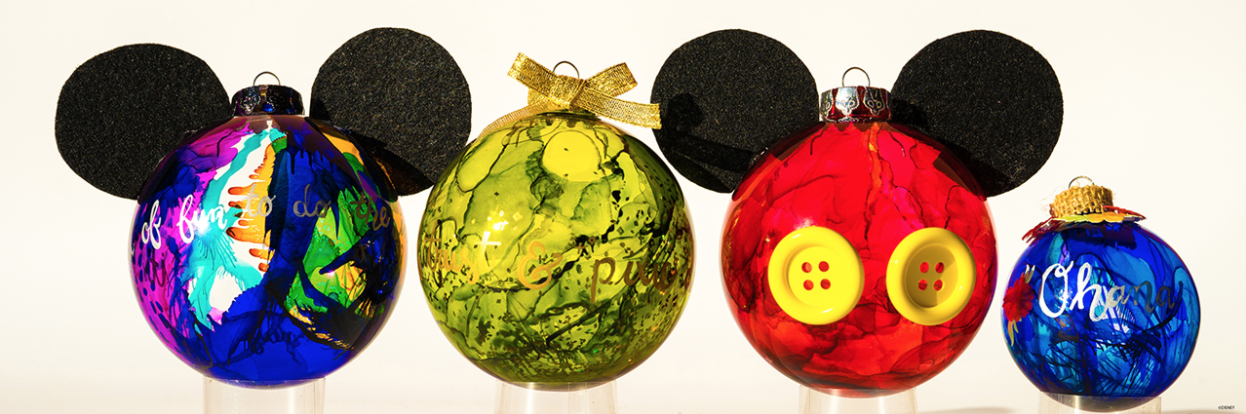
There is no limit to the designs you could make with this method! You can get super creative with the ink and embellishments you use on your own ornaments. If you’re having trouble coming up with your own designs, you can try some of these!
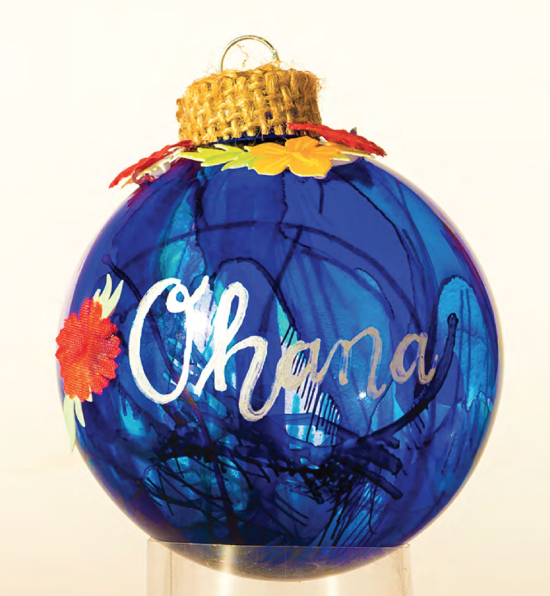
The Ohana Ornament — This ornament is themed after Lilo and Stitch! For this design, you will need turquoise, indigo blue, and purple ink, Hawaiian themed stickers, burlap, and a silver paint pen.
©DisneyParksBlog
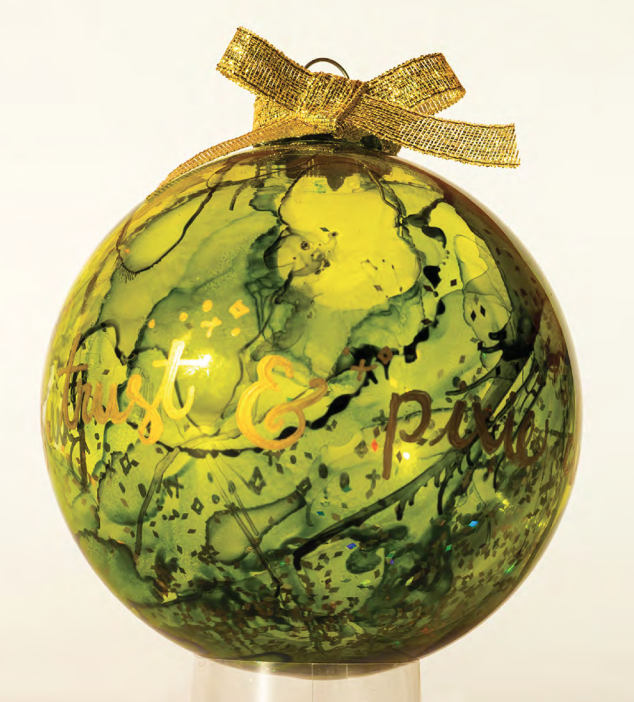
The Tinkerbell Ornament — We love Tink! For this ornament, use medium and dark green ink, gold ribbon, gold holographic glitter (1 teaspoon poured inside the ornament after the ink has dried), and the gold paint pen.
©DisneyParksBlog
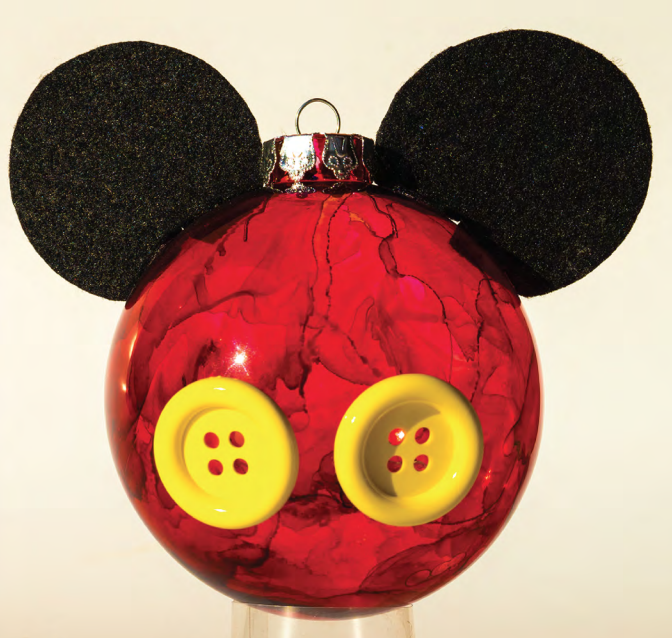
The Mickey Ornament — Represent your favorite mouse with this ornament! You will need red ink, 2 large yellow buttons, and 2 large black felt ears.
©DisneyParksBlog
The Walt Disney Quote Ornament — Perfect to display your favorite quote from Uncle Walt! This ornament needs orange, indigo blue, and magenta ink, 2 large black felt ears, and a silver paint pen.
©DisneyParksBlog
We are super excited to try this DIY four ourselves! We already have a few quotes in mind that would be great for the Quote Ornament!
Click here for a different type of Disney Christmas DIY!
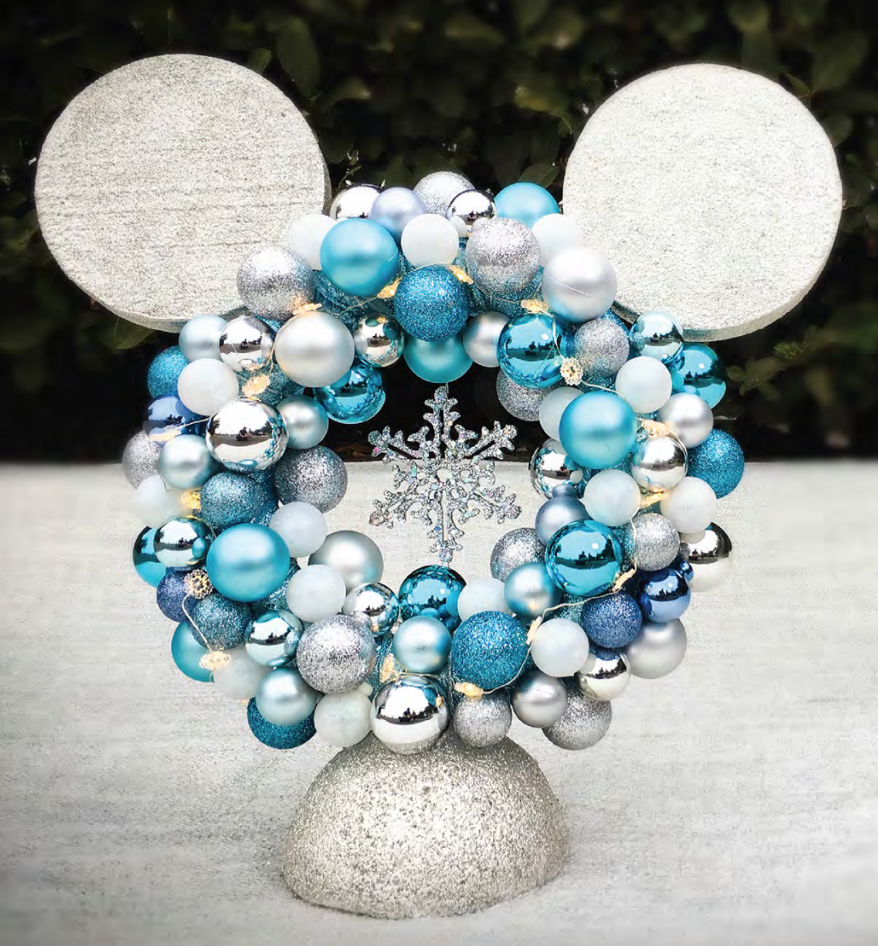
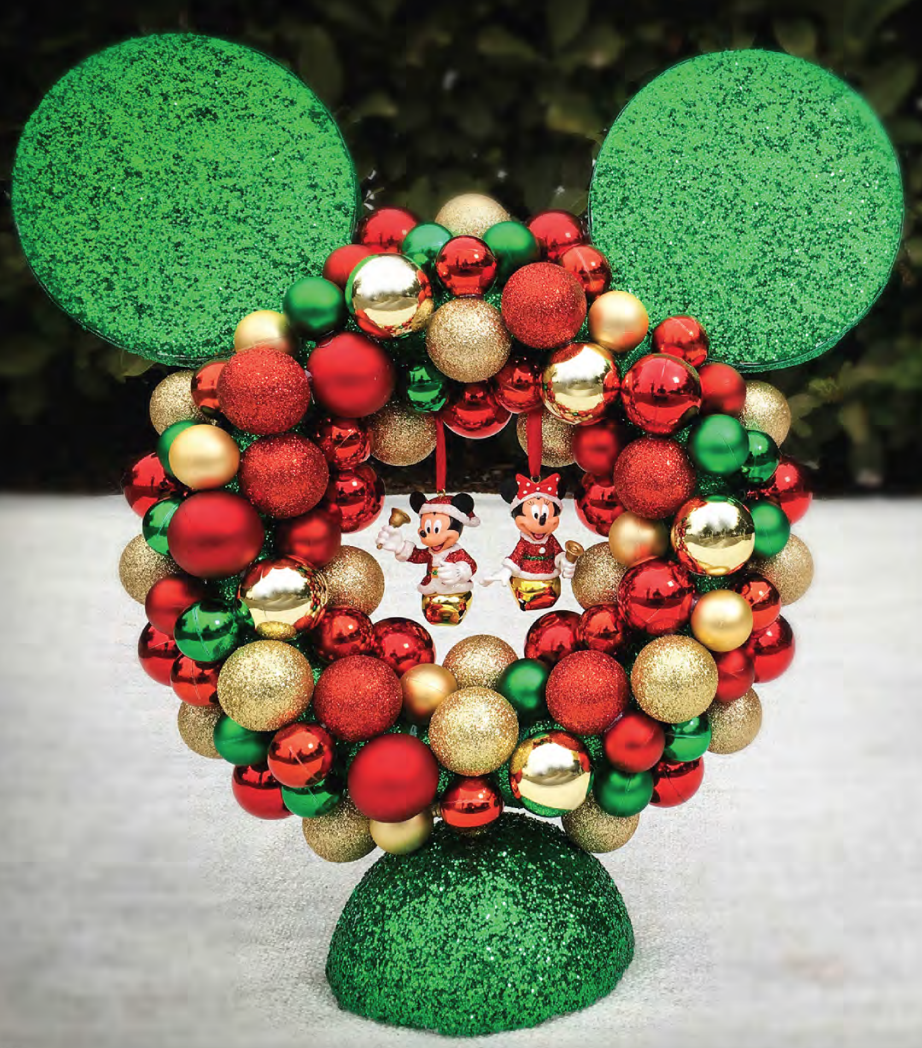
DIY Centerpiece Mickey
Whether you are looking for something for your table, bookshelf, or accent table, this holiday centerpiece is sure to stand out!

©Disney
Supplies
- 10″ foam ring
- Two 5 7/8″ foam circles
- Half of a 6″ foam sphere
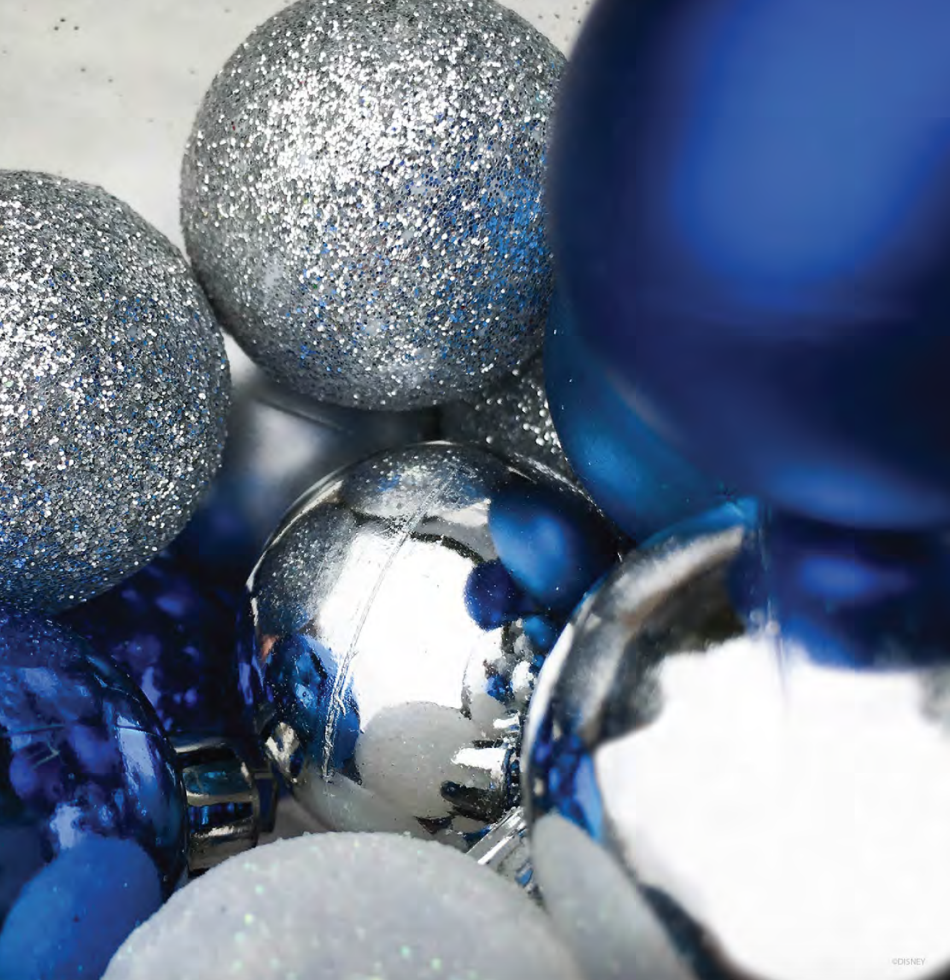
- Eighty 1″ ornaments
- Fifty 44mm ornaments
- 1 1/2″ ribbon
- Hot glue gun and glue sticks
- Tacky glue
- Paint or foam brush
- 3/16 dowel rod
- Glitter
©Disney
Instructions
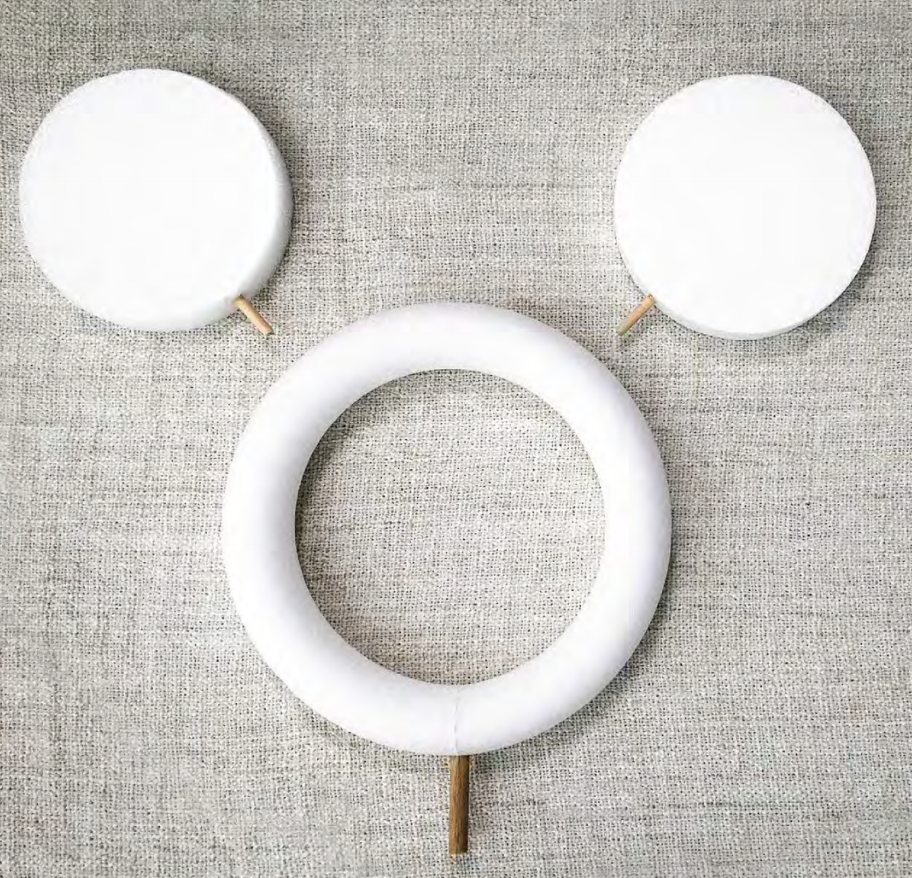
1. Cut the dowel rod into three 3″ pieces. Insert one piece into each of the 5 7/8″ foam circles, and the third into the bottom of the foam ring. Remove the dowels, dab with hot glue, and then re-insert the dowel rods in place.
©Disney
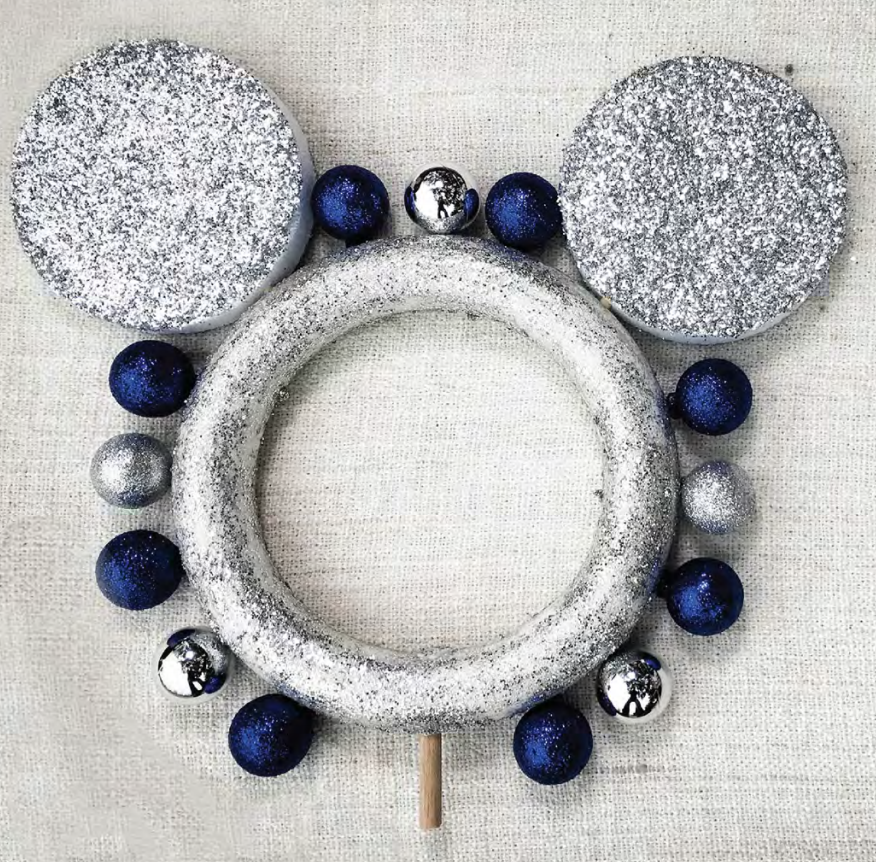
2. Align the two foam circles over the ring to look like Mickey’s ears and insert. Remove, but don’t glue them yet. Use the ribbon to wrap the foam ring, applying hot glue every few wraps, but leave space around the dowel rod and ear holes. (You could also cover the ring with glitter!)
©Disney
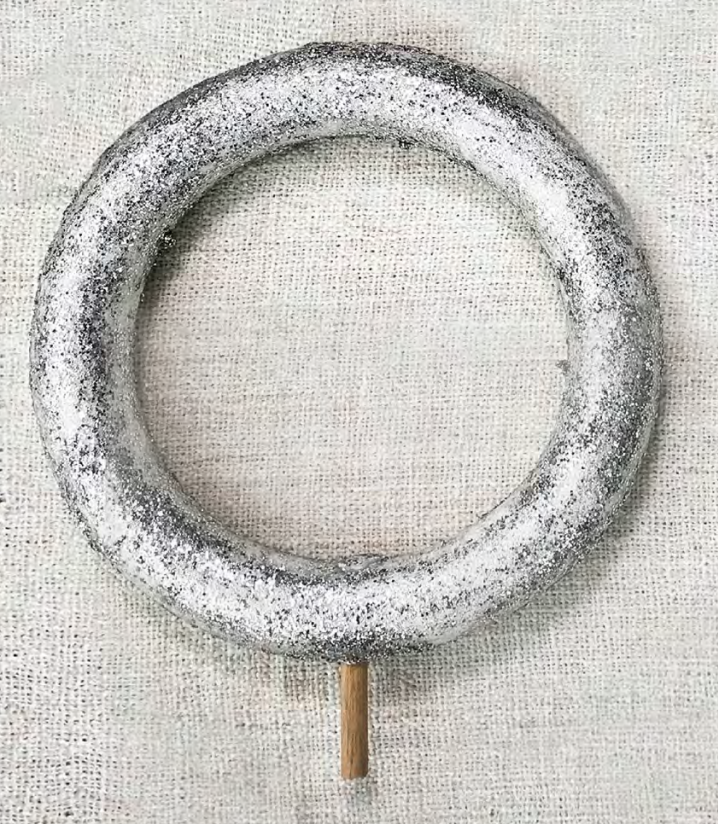
3. Apply a generous layer of tacky glue to the foam circles and coat them with glitter. Once the base layer of glitter is dry, mix equal parts tacky glue, water, and glitter. Use a brush to apply the mixture to the foam circles. When the foam circles are dry, use hot glue on the dowel rods to attach them to the foam ring.

©Disney
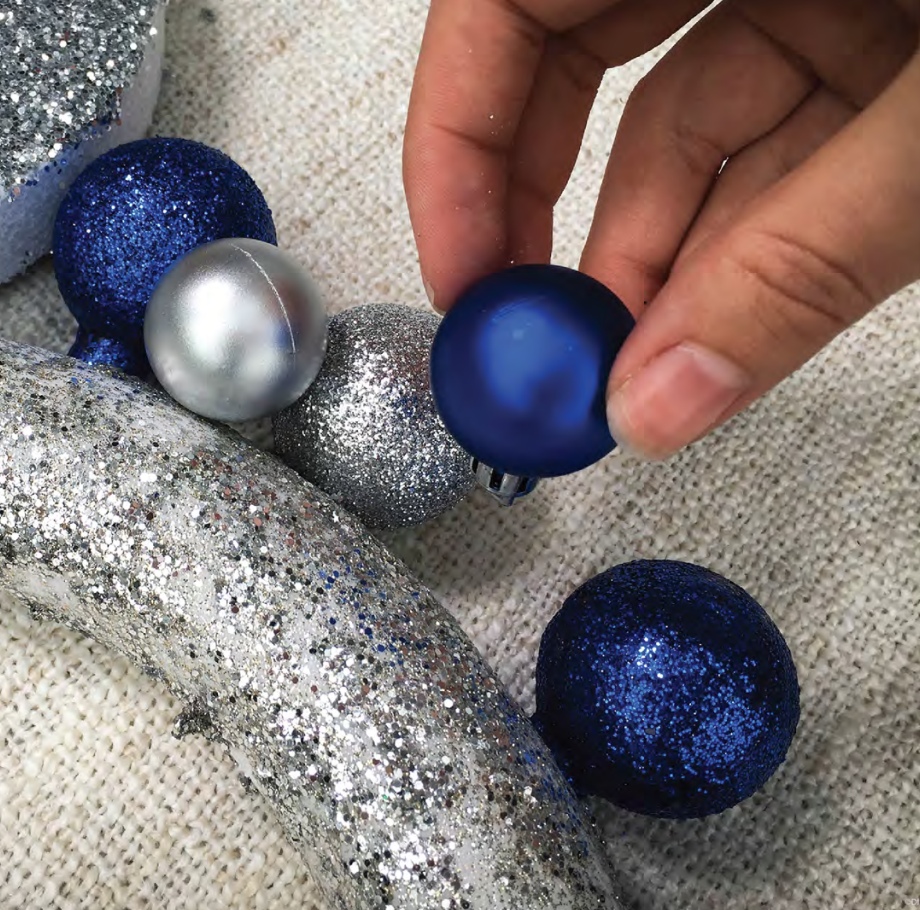
4. Begin hot gluing a row of the 40mm ornaments spaced out around the outside and inside of the foam ring. Leave space around the dowel rod to attach the base.
©Disney
5. Glue a row of 1″ ornaments between the larger ornaments on the outer and inner ring of large ornaments. Glue two small ornaments between the outer ring and dowel rod, leaving a 1 1/2″ gap on each side of the dowel rod.
©Disney
6. Use the rest of the ornaments to fill in any remaining space on the foam ring.
©Disney
7. Use the same technique in Step 3 to apply glitter to the half of the 6″ foam sphere. One dry, press the dowel rod of the foam ring into the center of the base. Remove, dab with hot glue, and re-insert. For a final touch, you can add a Disney ornament to the inside of the foam ring to complete the centerpiece!
©Disney
And there you have it! Two gorgeous Disney Christmas DIY to add an extra touch of magic to your holiday season! Stay tuned as we will keep sharing more holiday-themed DIYs!
Can’t get enough of Disney DIYs? Check out these projects you can do on a budget!
Join the DFB Newsletter to get all the breaking news right in your inbox! Click here to Subscribe!
Which of these holiday DIYs will you be trying! Let us know in the comments!
The post These Very Merry Disney DIYs Will Help You Get in the Christmas Spirit first appeared on the disney food blog.