

Looking to bring a bit of Disney into your home? Wishing you could recreate a fun Disney recipe for the holidays? Want a little sugary treat to add to your Christmas table? You’re in the right place!
Linzer Cookie
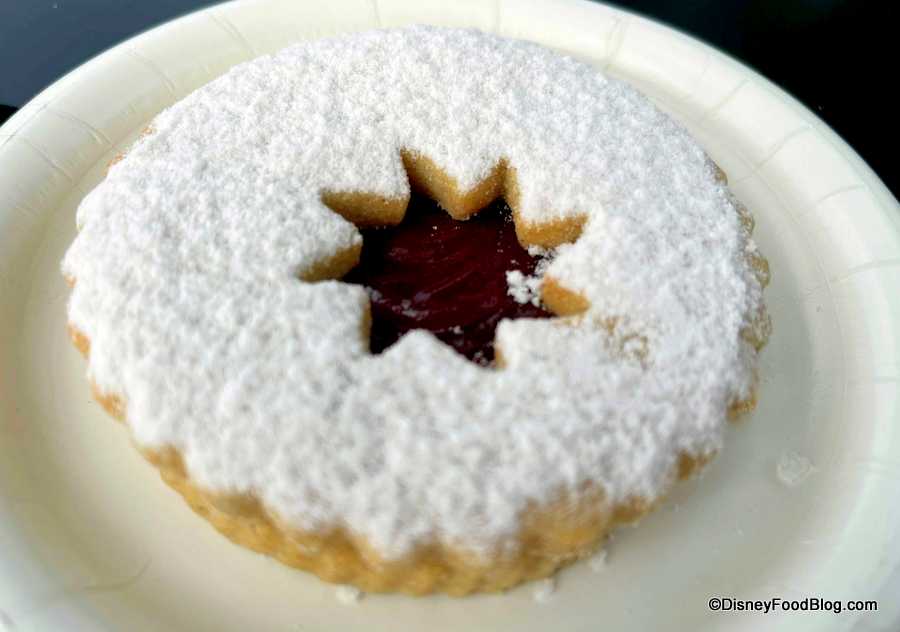
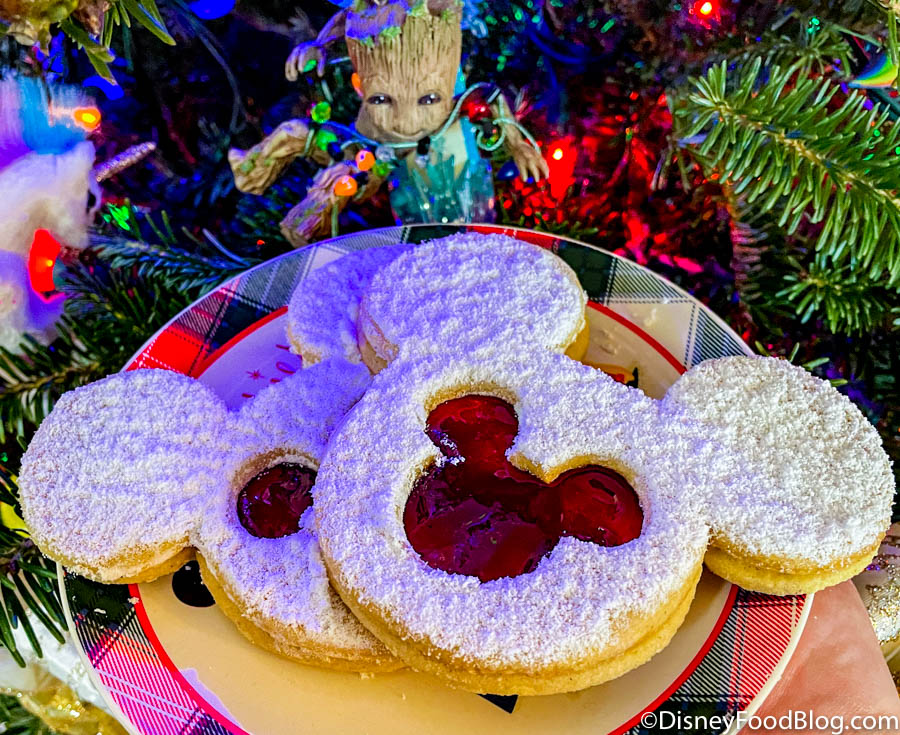
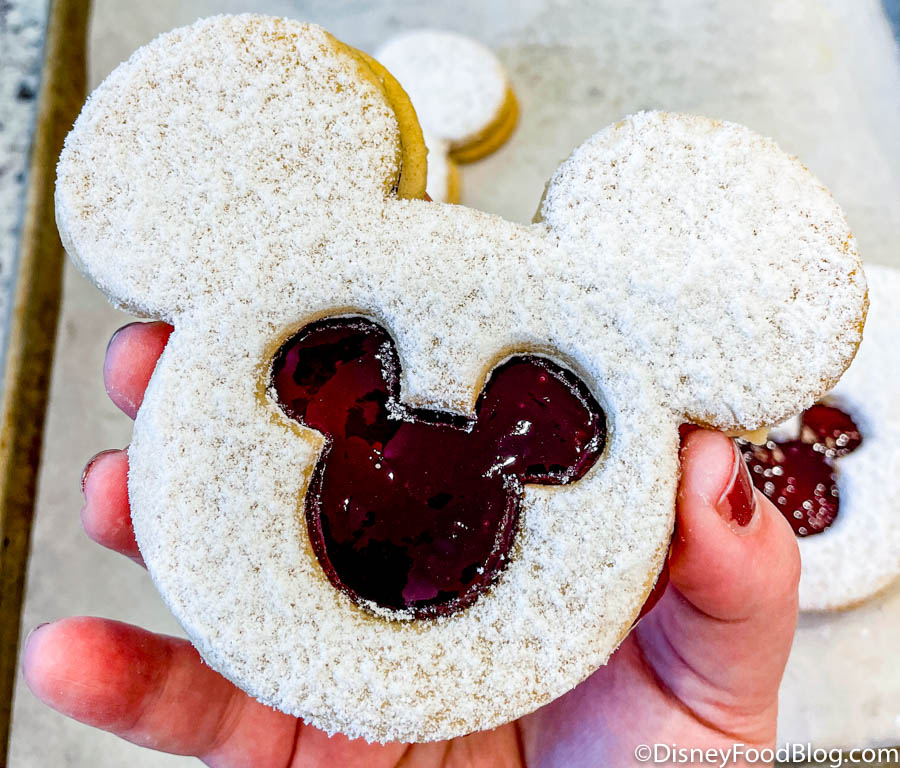
There are lots of different cookies you can have around Disney World, but one of the most iconic during the holidays is probably the Linzer cookie. We’ve seen this type of cookie pop up in a few spots, and it’s been available for several years at the EPCOT International Festival of the Holidays. But what if you could make that cookie at home with a special Mickey twist?! We’ve got all the info you need to know right here!
Today we’re sharing our copycat recipe for the EPCOT Linzer cookies, with a Mickey-shaped twist. You know Linzer cookies — the ones with the little cookie window cutout full of jam and topped powdered sugar? According to The Philadelphia Inquirer the cookie originated in Austria and has been adapted over time for American tastes. The cookie is essentially the ever-popular Linzer Tart but in cookie form! Most authentic recipes will have some form of ground nuts in the dough — almonds and hazelnuts are common — and the jammy center can really be any flavor you like, but raspberry or red currant are the most common.
Ready to Make These?!
Note: the recipe makes about 1 dozen cookies with the cutters we used. If you make them a tad smaller, you can yield more.
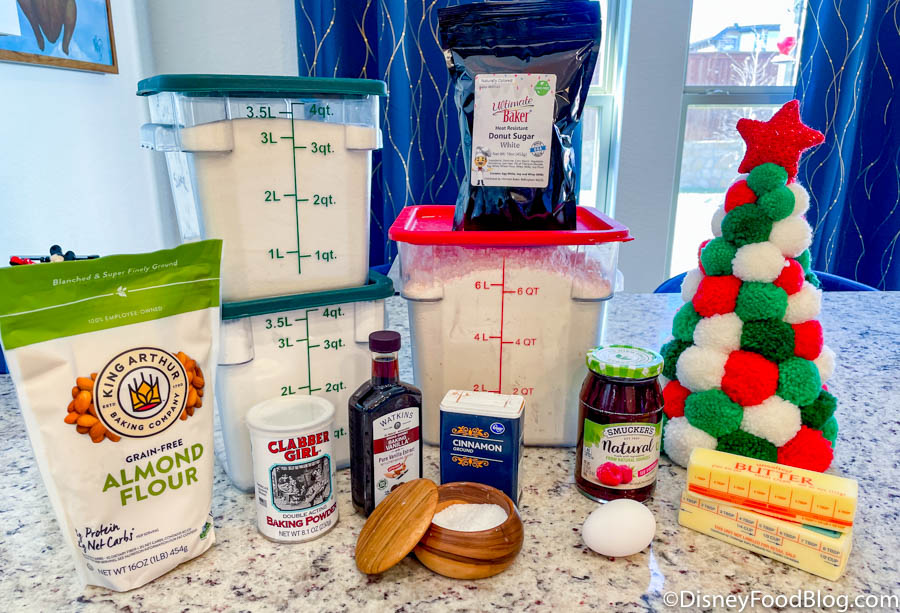
Ingredients
- 14 tbsp unsalted butter (room temperature)
- 1/2 cup granulated sugar
- 1/2 cup powdered sugar
- 1 large egg
- 1 tsp vanilla extract
- 1 tsp butter extract
- 1 & 1/2 cups all-purpose flour
- 3/4 cup almond flour
- 1/2 tsp cinnamon
- 1 tsp baking powder
- 1/2 tsp kosher salt
- 1 & 1/2 cups raspberry jam
- Non-melting powdered sugar (also known as donut sugar) for topping
- 2 cookie cutters (one of which is a smaller shape to cut out those windows in select cookies). Note you can search online for Linzer cookie cutters — like these — and find lots of fun options or use a small bottle cap to cut the centers. If you have a 3D printer and want the same ones we used, the file can be found here.
Let’s Get Started!
Steps
1 — Preheat oven to 375 degrees F. Adjust rack to middle of oven.
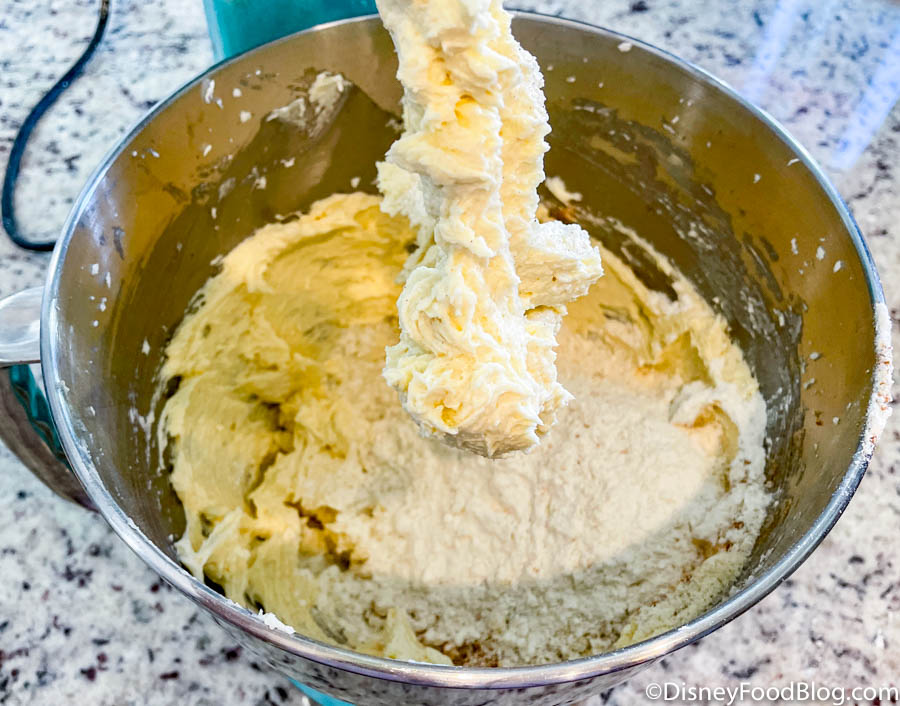
2 — Cream butter and sugars with paddle attachment in a mixer.
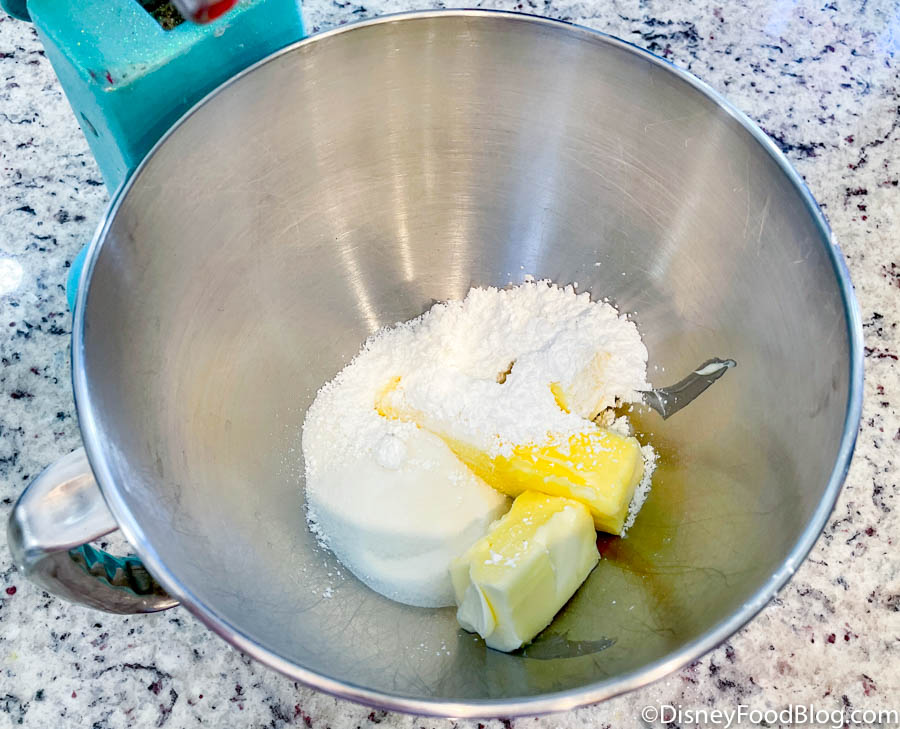
The Butters and Sugars Are in
If you don’t have a stand mixer, you can use a handheld mixer or do this by hand (it’ll be a workout!). Cream on high until pale and fluffy looking — about 4 minutes.

That’s What You’re Looking For!
3 — Scrape down bowl and add egg and both extracts. You likely have vanilla extract hiding in your pantry, but butter extract? Maybe not, unless you bake frequently. This is a secret many bakeries use to add an extra layer of buttery flavor to doughs and batters. Most grocery stores sell it in the spice aisle.

Add in the Extracts
Mix on high until well incorporated.
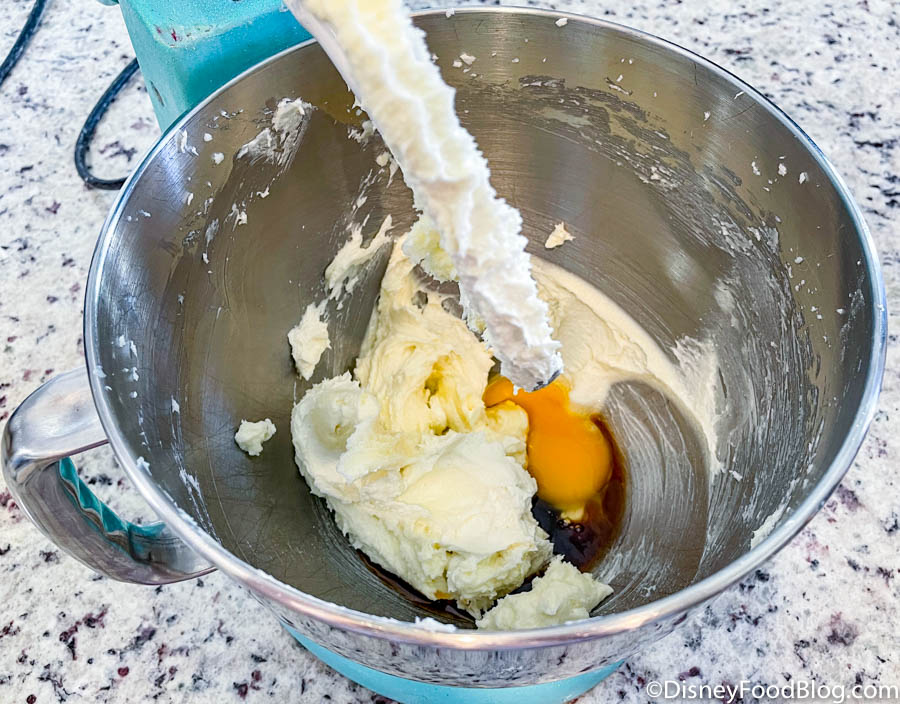
Add the Egg and Extracts
4 — In a separate bowl, add dry ingredients — all-purpose flour, almond flour, cinnamon, baking powder, and salt. Mix with a whisk by hand until well blended. Almond flour is just finely ground almonds. Again, most stores sell this n the baking aisle. If not or if you have someone with a nut allergy, feel free to substitute an equal amount of flour here (it just won’t taste quite the same!).
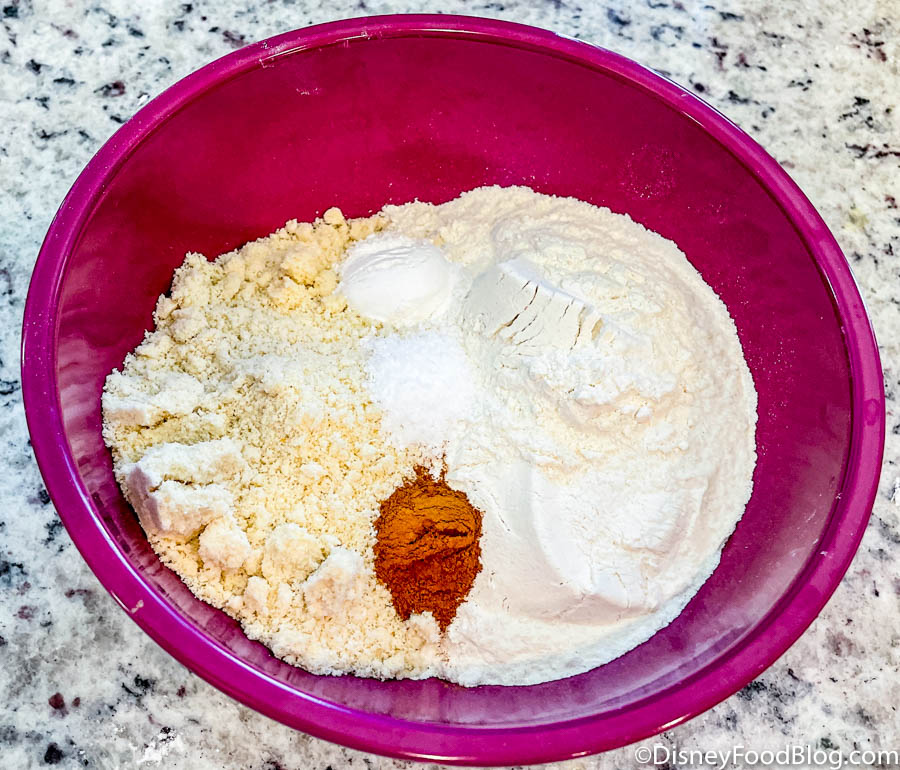
Mix It Up!
5 — Pour dry ingredients into mixer and mix, on low/medium, until dry ingredients are just incorporated.
Mixing It Together
The dough will feel a little sticky but not so much that it is hard to handle.
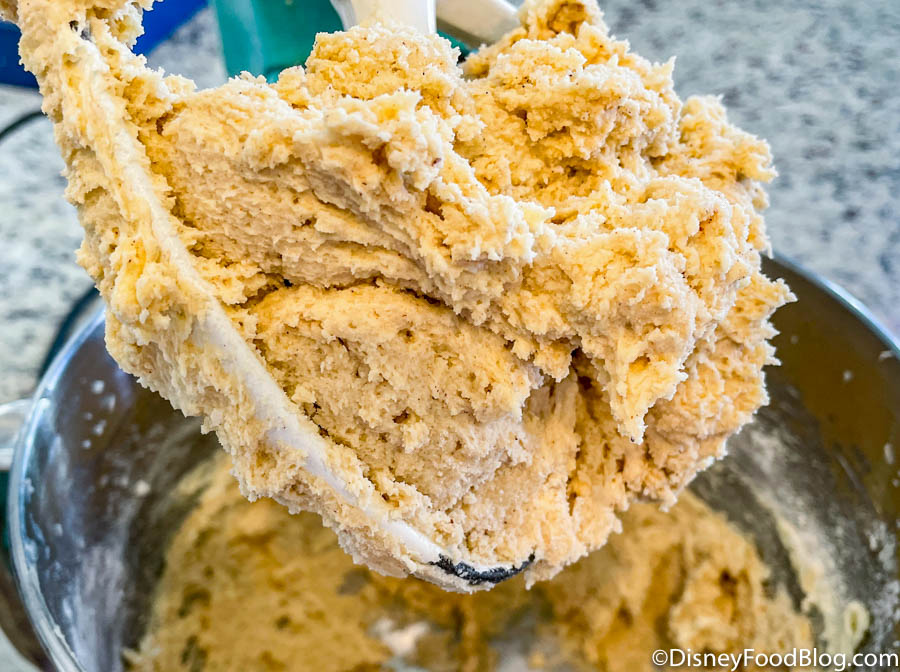
The Dough is Ready
6 — Form into a disc and wrap in plastic wrap. Place in fridge for 60 mins.
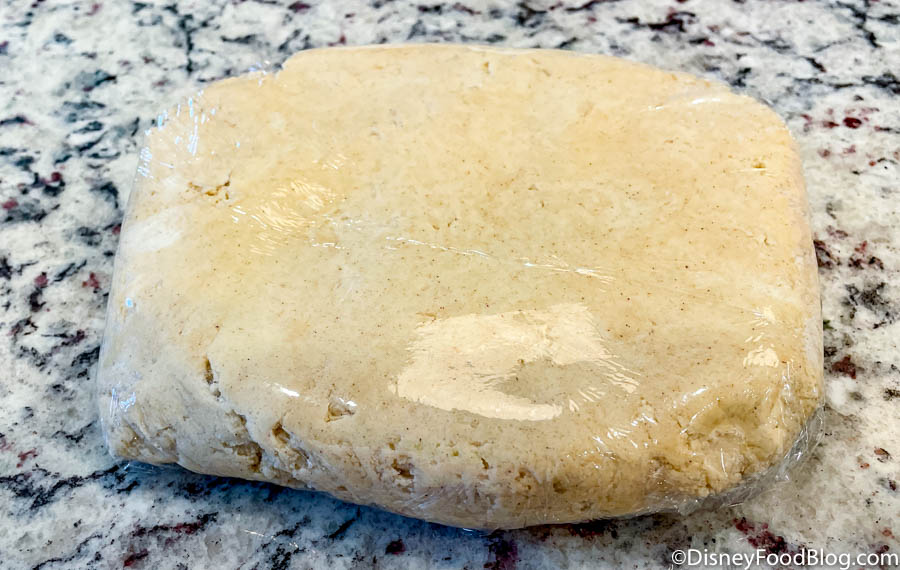
Time to Let It Cool
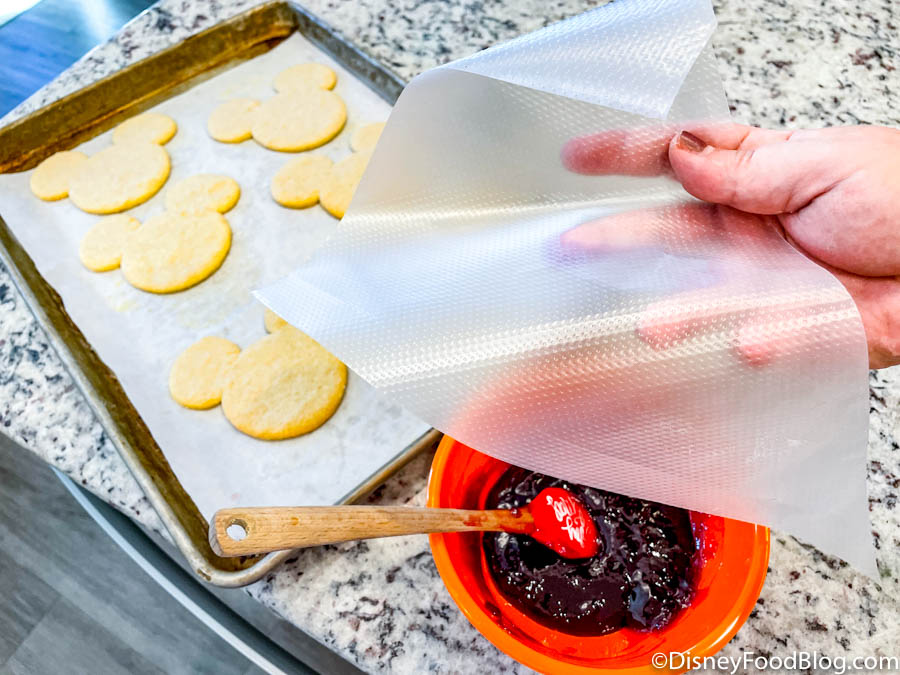
7 — While dough chills, pour 1 & 1/2 cups of jam into a heatproof container and microwave for 1-1.5 minutes until jam is bubbly and hot.
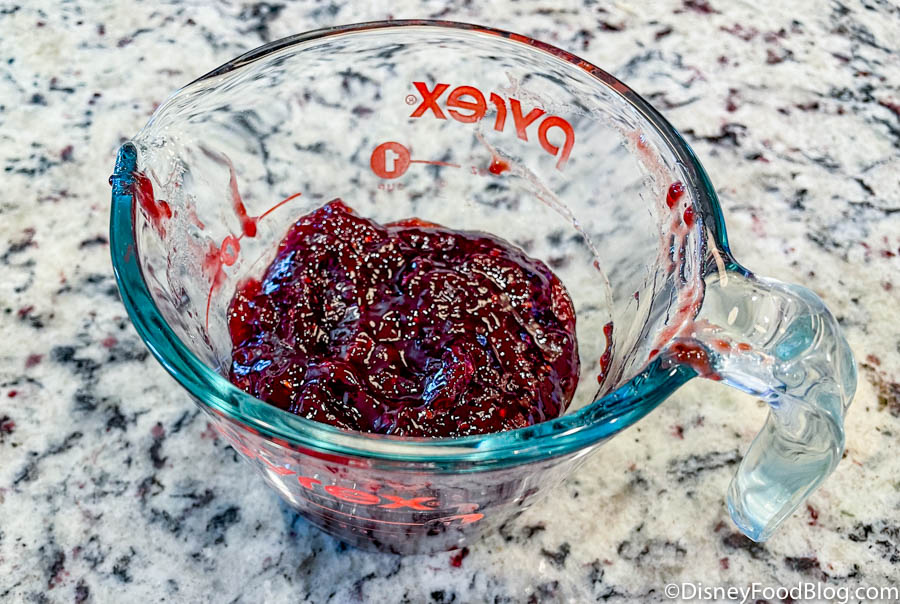
Get That Jam Heated Up!
8 — Pour jam through a strainer into another bowl.
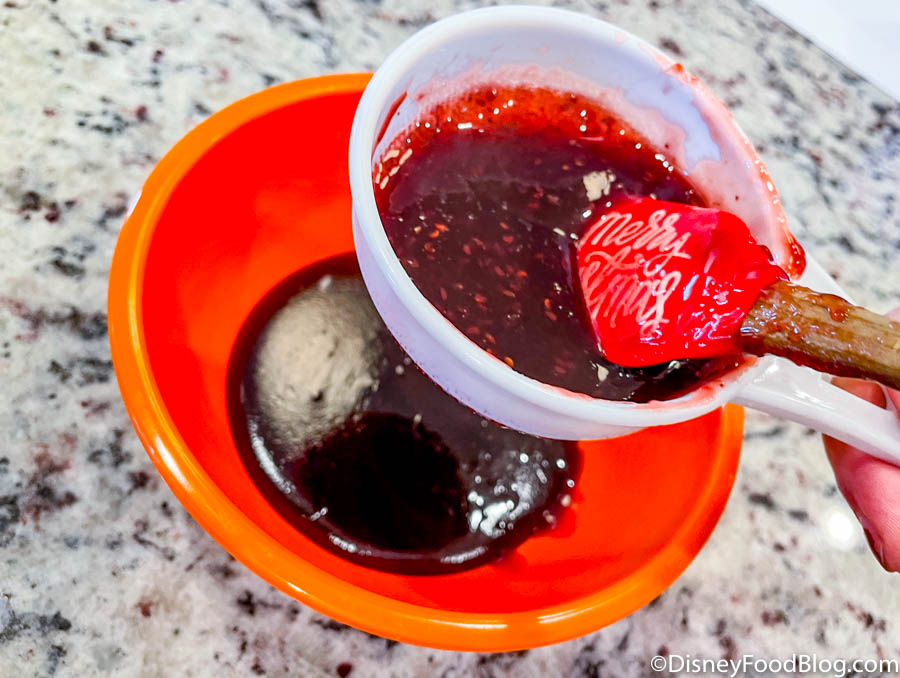
Time to Strain
Use a spatula to stir and press the jam through the strainer. This will remove the seeds and make your jam slightly thicker once it sets up. (Seeds in jam are rarely fun to chomp into!)

Use That Spatula
9 — When ready to cut cookies, liberally flour your surface and place dough on top.
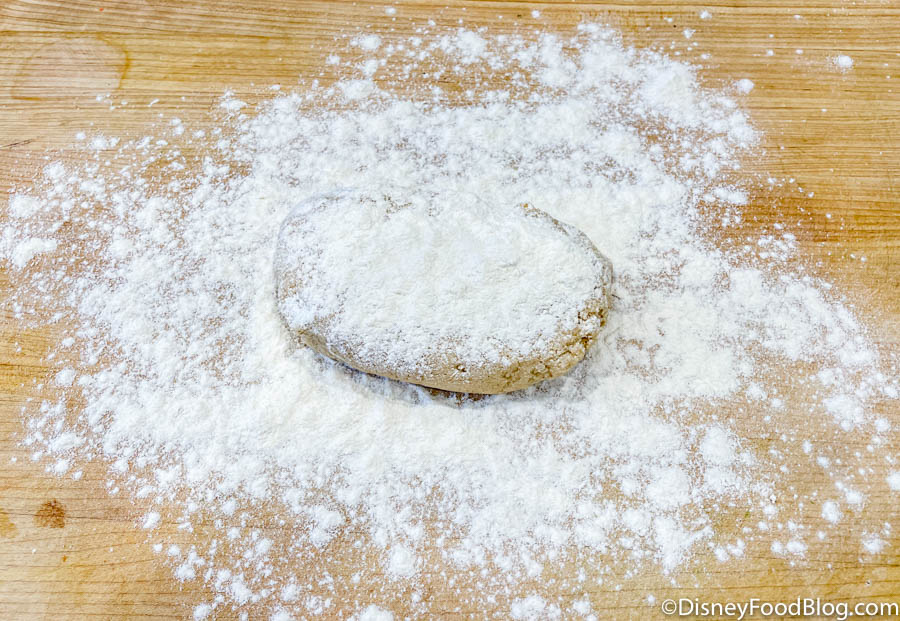
Use Plenty of Flour
Flour the top of the dough and roll, gently, with a rolling pin until 1/8 inch thick. Now, it’s time to cut.

Time to Cut Out Your Mickey Shapes
We used 2 different Mickey-shaped cookie cutters — one that is larger and one that is smaller (to cut out Mickey shapes on select cookies — more on that in a second). Our team member’s family member made the cutters using a 3D printer file. They uploaded the files for us so anyone trying these at home (that also is equipped with a 3D printer) can make the cutters at home to use too! Click here to download the free file.
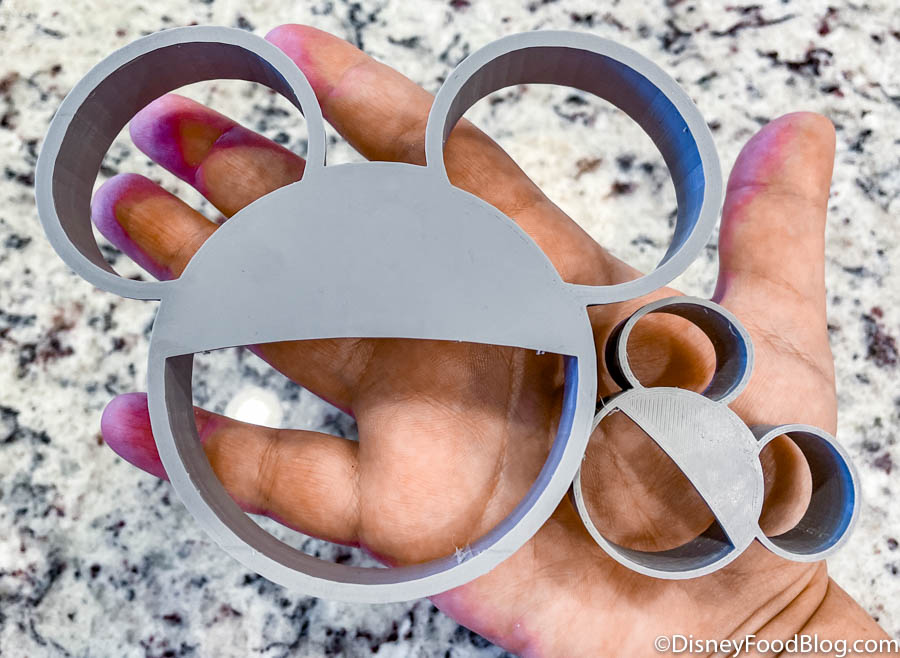
Our Mickey Cookie Cutters
If you don’t have Mickey cookie cutters at home or don’t have a 3-D printer to make your own custom ones, you can buy some online! For example, this set from Amazon comes with 5 Mickey-shaped cookie cutters in different sizes. It’s typically priced at $8.99, but is on sale right now for $5.99!
You could also use any non-Mickey or non-Disney cookie cutters of your choosing, or just use a larger cup and something in a smaller shape to cut out the windows — a bottle cap can work! — or whatever else you’ve got at home to make it work!

©Amazon | Tmflexe
Once you’ve got your cutters ready, cut your dough with any cutter and carefully use a spatula to transfer to a parchment paper or silicone mat-lined cookie sheet. This is a finicky dough to transfer and ours stuck a good bit to our work surface. Just take your time and add flour as needed to prevent sticking.

Transferred onto the Baking Sheet
For ONLY half of the cookies, use a smaller cookie cutter to cut out a window in the center of the cookie. Do this AFTER cookies are transferred to the cookie sheets to prevent warping the cookies.

Time to Cut Those Smaller Mickeys
Here’s what the cut-out windows should look like for those half of the cookies. (Definitely bake up the little Mickeys! They’d go great on the side of a cup of cocoa!)
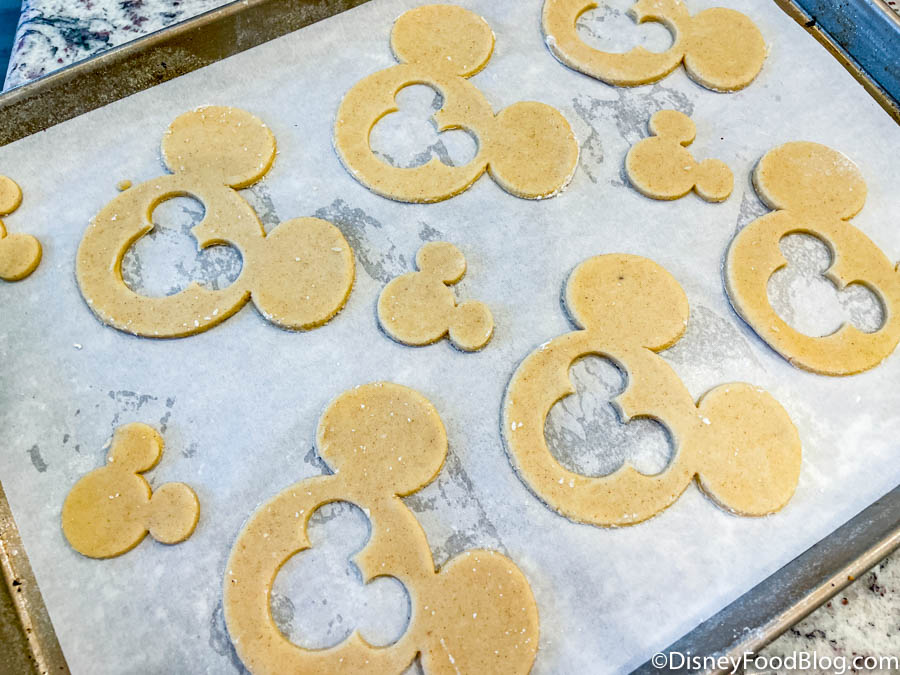
What It Should Look Like
10 — Chill cut cookies for 30 minutes before baking. This is key to prevent the cookies from over-spreading. You want crisp cutouts, not blobs.
11 — Bake cookies in preheated oven until just slightly golden. In our oven the whole cookies took 9 minutes and the cookies missing the centers took 7 minutes. EVERY oven is different so watch, watch, watch. When you see the edges juuuuust starting to golden, pop em out!
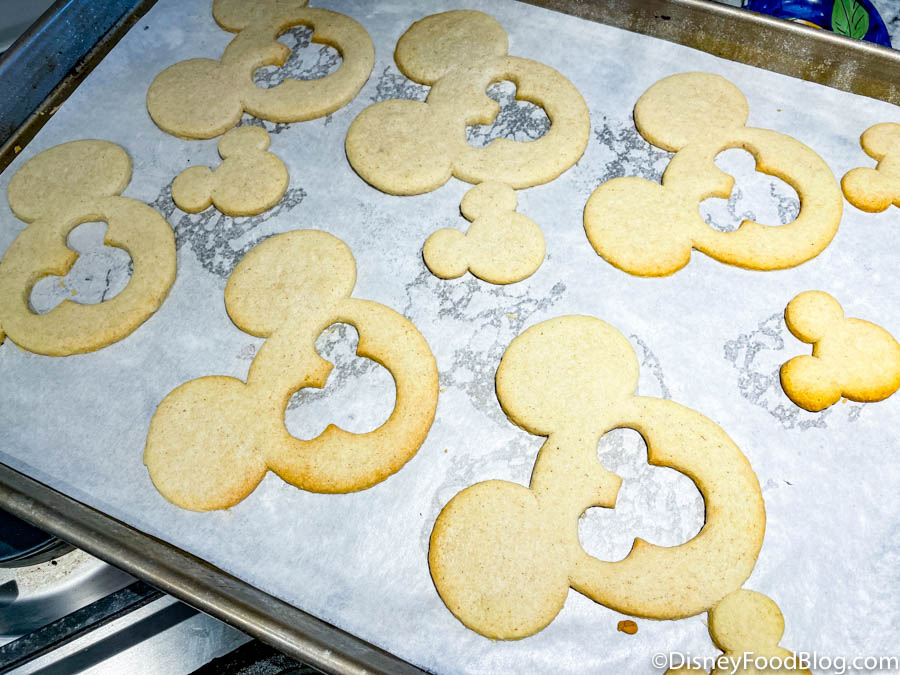
They’re Ready!
12 — Let cookies cool completely before assembling.
13 — When ready to assemble, either use a knife to smear jam on the bottom cookies or fill a piping bag or ziplock bag with the jam.
We Got a Piping Bag for Ours
If you use the piping bag, cut the tip off the bag…

Ready to Go, Just Need to Cut Off the Tip and Get Piping!
…and gently squirt jam on the cookie.
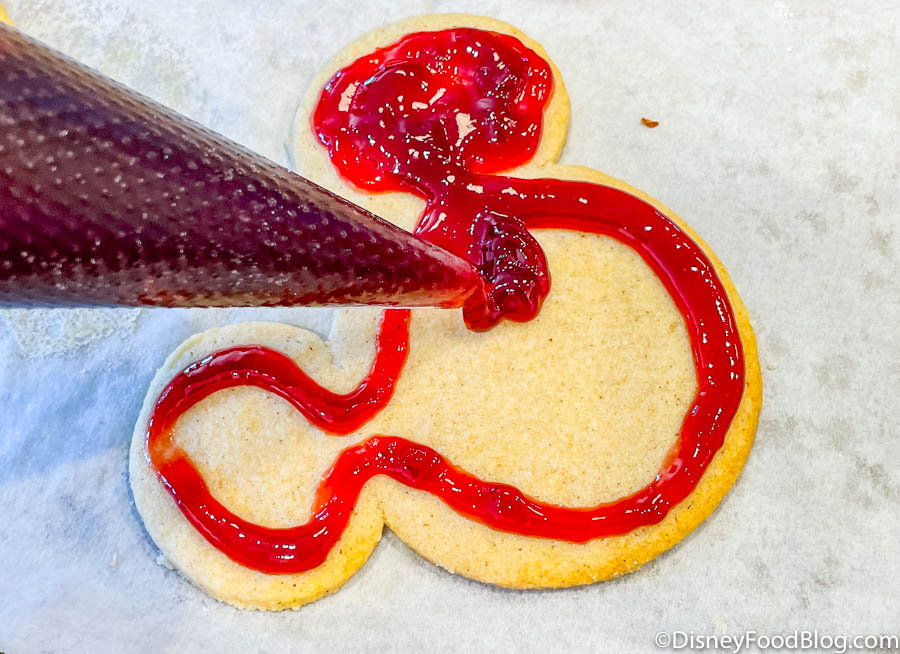
Looks So Delicious
Avoid getting too close to the edges.
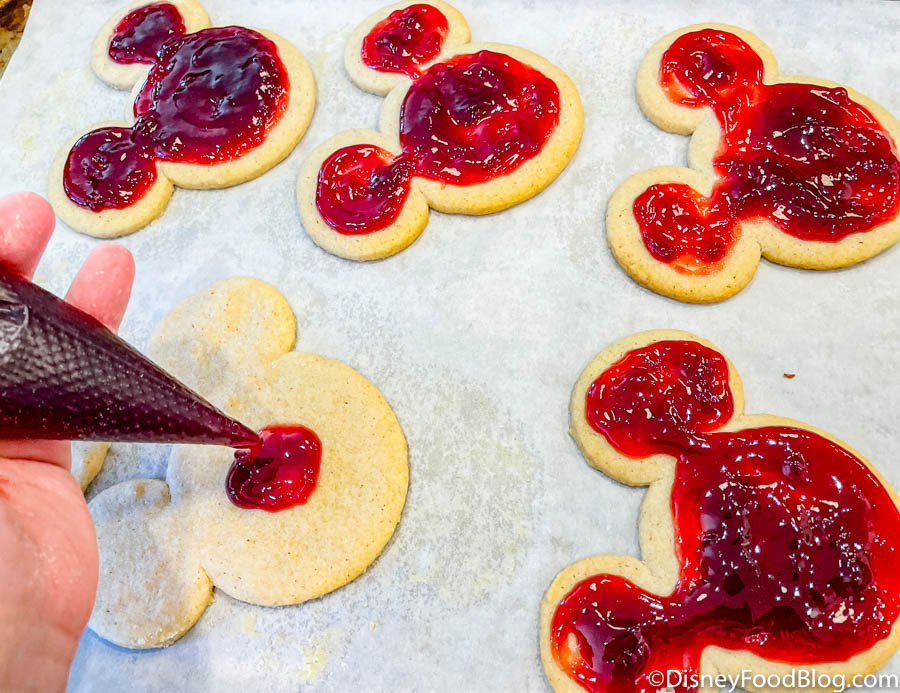
This is What it Should Look Like
14 — Pour a bit of the non-melting powdered sugar into a small mesh strainer. Hold it over the top cookies and gently tap the side of the strainer with your hand. Powdered sugar should gently shower down on the cookies. You do this first so you don’t cover the pretty jam on the completed cookie!

Gently Tap
15 — Take a top powdered sugar-covered cookie and carefully place it on a jam-covered cookie.
Put a Sugar-Topped Cookie on Top of the Jam Covered One
Repeat with remaining cookies.

Finishing Them All Up
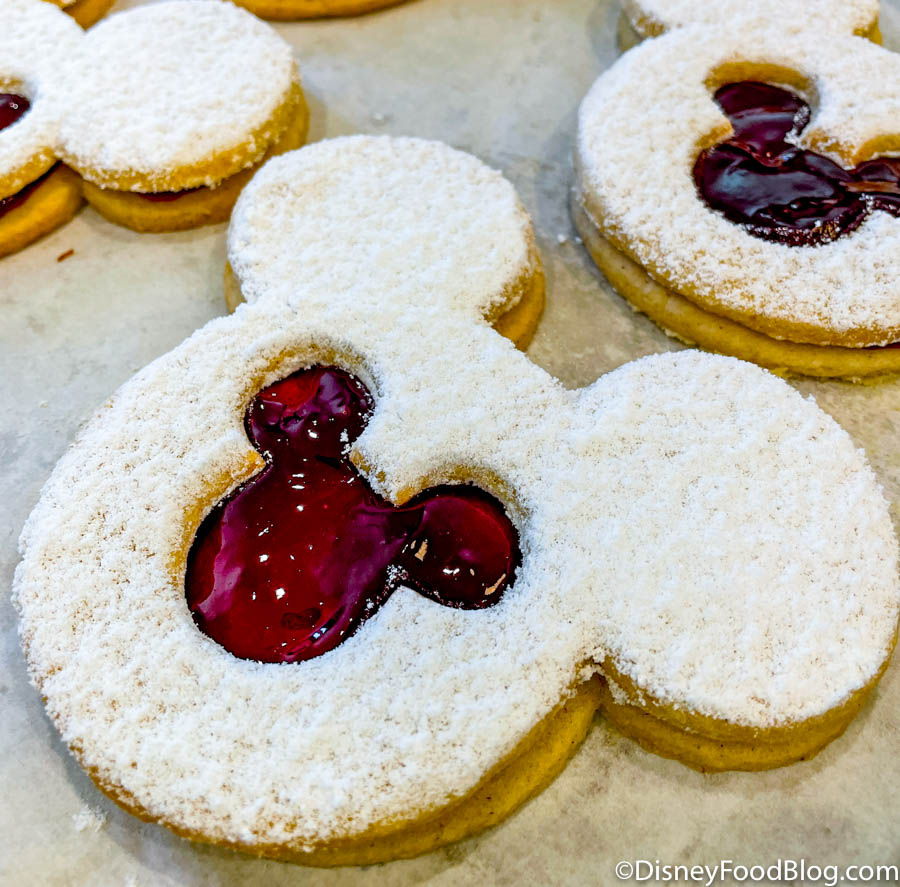
When you’re done, you should have some adorable Mickey-shaped Linzer cookies with a bit of that jam showing through the center.

Love Them!!
You can serve these up as part of your holiday spread, wrap them up in some clear wrap and give them out as gifts, or just devour them all on your own (we won’t judge  ).
).
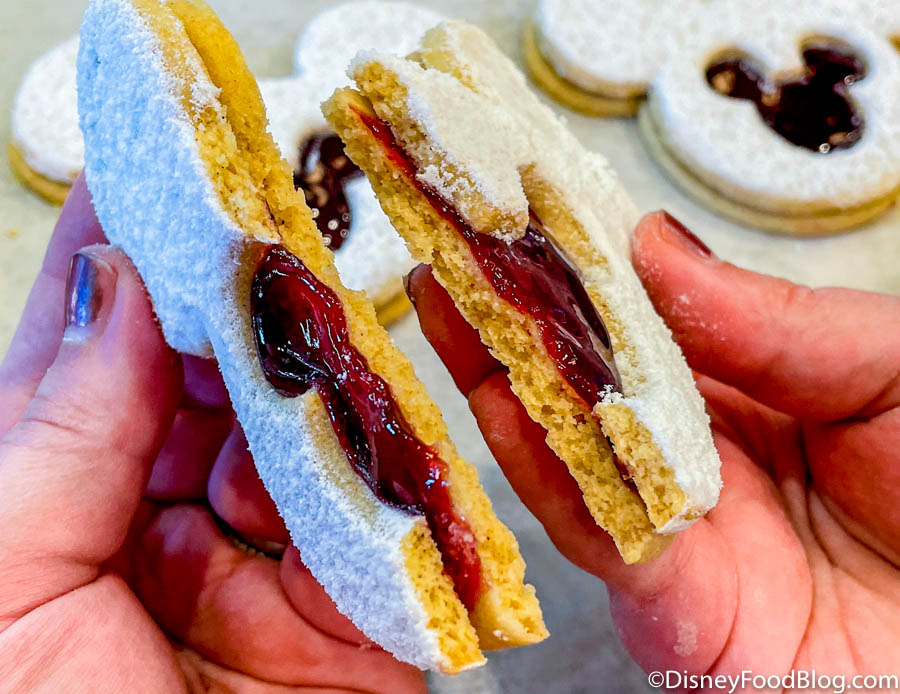
A Peek Inside
And now, let’s go through some notes and tips.
Baker’s Notes and Tips
The dough NEEDS to be chilled between cutting and baking. If not, the cookies will spread and lose their pretty shapes a bit. Be sure to leave enough time for the dough to be chilled!

You’ve Got to Chill the Dough to Get This Pretty Shape
The dough will puff when it starts cooking but should settle back to the crisp, cut shape as in nears the end of baking. Don’t be alarmed!
This dough is very soft and can be tricky to handle. Just take your time, use extra flour to prevent sticking as needed, and be patient!
Sugar, Jam, and Patience Are Key
Once the cookies are assembled, you can add an extra bit of jam in the center window of each cookie if you want it really jammy. (And, really, who DOESN’T want an excuse for more jam?!)
You can do this with regular powdered sugar but the pretty white sugar won’t last super long on the cookie. It’ll seem to disappear over time as the oil in the cookie comes in contact with the sugar. That’s what’s special about non-melting sugar. This is what Disney uses and it should stay nice and white on top of the cookies!
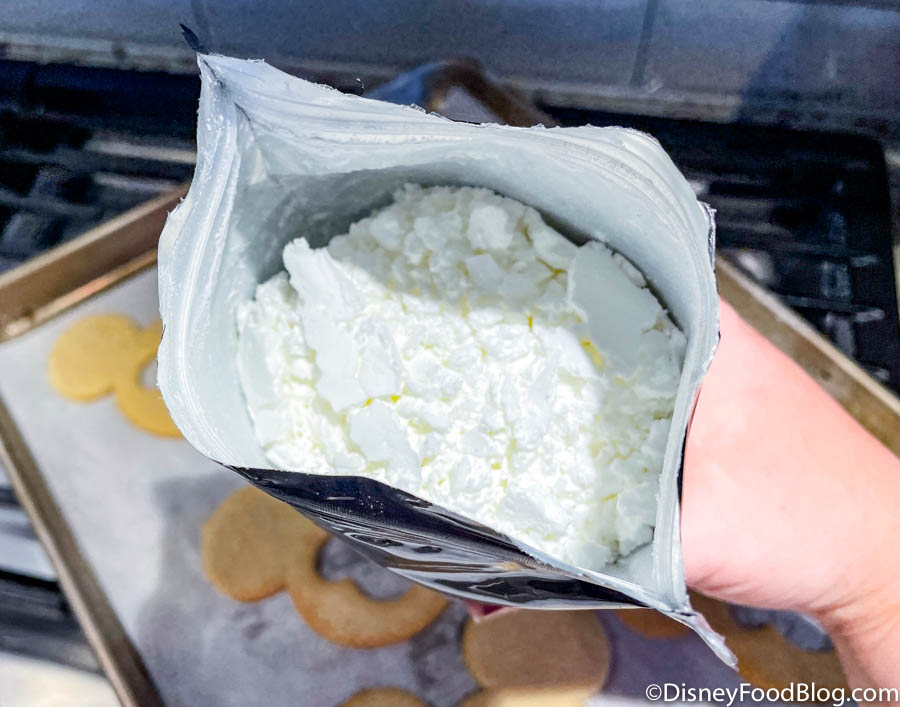
Use That Non-Melting Sugar
Don’t have any non-melting sugar at home? You can grab some on Amazon! This non-melting sugar powder (which is also called snow sugar or donut sugar) comes in an 8oz serving and is $6.62 for 1 bottle. Note, however, that shipping is extra.
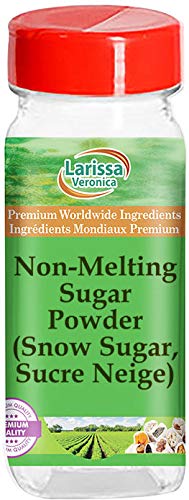
©Amazon | Larissa Veronica
For these cookies, you can use any flavor of jam. Traditional Linzer cookies use red currant or raspberry, but use whatever you like to make this cookie just what you want to eat (we were wanting to try it with cherry preserves!).
Disney uses almond flour in their cookie — we asked! — but you can omit this and use the same amount of regular flour instead if you chose, it just won’t be quite the same!

Our Cookies
There you have it — a fun and delicious cookie recipe you can make at home with family and friends or bring to a special holiday celebration. If you make these cookies at home, be sure to let us know in the comments!
Click here for more Disney recipes!
Join the DFB Newsletter to get all the breaking news right in your inbox! Click here to Subscribe!
Don’t Miss Out on Any Disney Fun!
Preorder Your Copy of the 2022 DFB Guide to Walt Disney World Dining Today!
 With more than 750 pages, the 2022 DFB Guide to Walt Disney World Dining is full of tips and planning tools developed by Disney World experts over 30+ years of visits. We’ve done the research for you, so you’ll know just which spots will uniquely suit your family’s needs!
With mini-reviews of every single restaurant, bar, lounge, kiosk and more; an entire chapter on the best snacks in Disney World; full Disney Dining Plan analysis (and how to get FREE dining); and a full chapter on discounts and deals; you’ll have everything you need to plan your best vacation yet.
Click here to preorder your copy of the 2022 DFB Guide to Walt Disney World Dining E-book with code WDW2022 to save 25% off the cover price today!
Use code WDW2022 at check-out for 25% off the cover price today!

Our guides are backed by a 100% money-back guarantee, so you have nothing to lose. 
DISCLOSURE: This post may contain affiliate links, meaning when you click the links and make a purchase, we receive a commission.
Are you a fan of Linzer cookies? Tell us in the comments!
The post Copycat Disney Recipe: Mickey-Shaped (!!) Linzer Cookies from EPCOT first appeared on the disney food blog.